Unlock the Magic of Sun Photography: Create Stunning Starburst Effects!
- nativisdesigns
- Jul 9, 2025
- 4 min read
Updated: Jul 30, 2025
Capturing the beauty of the sun is an exciting adventure that many photographers strive to master. The allure of creating starburst effects adds a unique touch to your landscape photography. By mastering techniques, timing, and settings, you can unlock the magic of sun photography and elevate your images dramatically.
In this post, you'll uncover essential tips for effectively photographing the sun and achieving that stunning starburst effect. Let’s jump into the details!
The Art of Sun Photography: Mastering Starburst Effects
Starburst effects happen when light passes through a small aperture, producing rays and flares around bright light sources like the sun. This effect adds a dynamic quality to your images.
To optimize this effect, several factors are crucial, including the aperture size and the type of lens used. The sharpness of your starburst will greatly influence the overall aesthetic of your photograph.
Understanding Starburst Photography
For rich and pronounced starbursts, use a smaller aperture (higher f-number) such as f/16 or f/22. This setting can create multiple rays coming from the sun, enhancing your image's visual appeal. For instance, using f/22 can produce up to eight distinct rays as the light interacts with the lens’s blades, resulting in a captivating starburst.
Though small apertures increase depth of field, they can also challenge your exposure management. Both fish-eye and wide-angle lenses are effective at adding interesting compositions, but don’t underestimate a standard lens. For example, Canon's 50mm f/1.8 lens is highly regarded for sharpness, making it a great option for capturing starbursts too.
Timing Matters: The Golden Hours
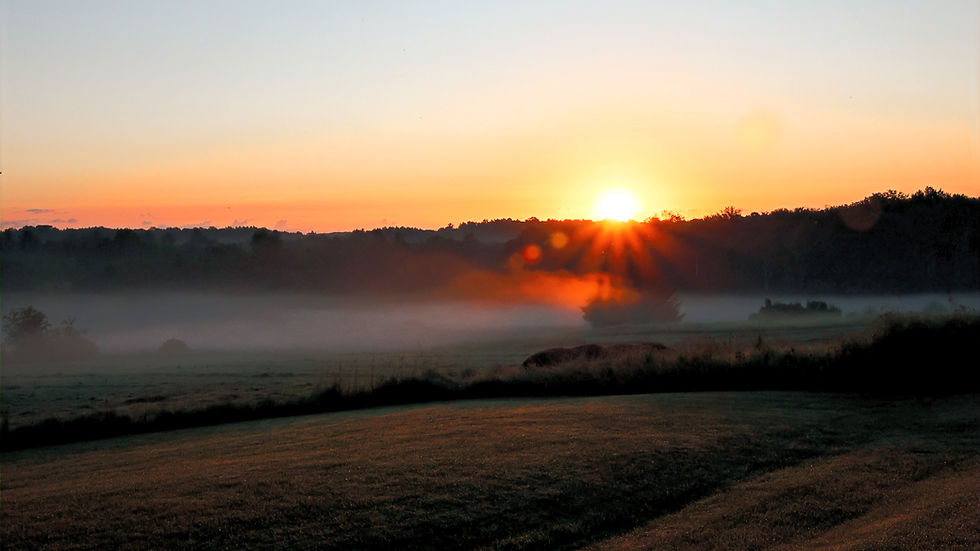
Timing is crucial in sun photography. The golden hours—shortly after sunrise and just before sunset—are perfect for capturing soft, warm light. During these times, the sun sits lower in the sky, allowing for vivid starburst effects without harsh midday glare.
Research shows that photos taken during the golden hour can appear up to 90% warmer and more pleasing compared to those taken at noon. As you position yourself near the horizon, look for intriguing textures and colors that enhance your starburst effect.

Location is Key to Stunning Landscapes
The right location can turn a regular photograph into a stunning starburst image. Search for open spaces where the sun can shine freely, such as fields, lakes, or mountains. These settings provide broad skies and aesthetic silhouettes to frame your sunburst.
For example, a lake landscape at sunset can reflect colors and create depth. Adding elements like trees or rocks will naturally guide the viewer's eye to the sun. It’s a smart way to enhance your starburst effect.
Composition Techniques to Enhance Your Image
Effective composition can make your shot stand out. Use the rule of thirds for creating balance; position the sun off-center to allow interaction with surrounding elements.
Leading lines can enhance interest; for instance, a winding path or a row of trees can direct the viewer’s gaze toward your bright sunburst. Take a moment to experiment with different angles and perspectives for more engaging results.
Experimenting with Camera Settings
Each photograph is an opportunity for experimentation. Start with Aperture Priority mode to control the aperture while the camera adjusts the shutter speed automatically.
To minimize lens flare, adjust your angle slightly until you find the best position. In low-light situations, boost the ISO to avoid underexposure, but remember that higher ISO settings can introduce noise, especially in lower-quality cameras.
Using Filters for Added Drama
Consider utilizing a polarized filter to minimize glare and enhance color saturation. This can make the hues in your scene pop, contributing to a more vibrant starburst effect. Neutral density (ND) filters allow you to shoot at slower shutter speeds, resulting in a smoother background while focusing on the sun’s bright rays.
Post-Processing Tips for a Polished Look
After capturing your magnificent starburst images, the next step is post-processing. Software like Adobe Lightroom or Photoshop can significantly enhance your photos.
Brightening the starburst rays while maintaining a natural look can help them stand out. A small boost in contrast can also make your photograph more striking. However, be careful not to over-edit; your goal is to maintain the beauty seen in the original capture.
Sharing Your Starburst Creations with the World
Once you’ve perfected your sunburst shots, share them proudly! Whether adding to your portfolio, showcasing at local exhibitions, or sharing with family and friends, displaying your work is rewarding.
Join photography communities to receive feedback and connect with fellow enthusiasts. Your unique take on sun photography might inspire someone else to explore this captivating genre!

Mastering Sun Photography: Final Thoughts
Mastering sun photography with stunning starburst effects is an exciting journey that will enhance your skills and expand your creative horizons. By trying out different settings and understanding your environment, you can create breathtaking images.
Practice is crucial; venture out during the golden hour, grab your camera, and start capturing the light. With these insights, you’re on the path to creating starbursts that will amaze viewers and elevate your photography portfolio. Happy shooting!
Learn more about photography techniques online.


Comments